Introduction
This how-to guide describes how to install and use the LumiScan Annotation Framework for creating oriented bounding box annotations.
The document explains how to:
Install the LumiScan Annotation Framework on Windows
Configure the application
Load image datasets
Create and modify oriented bounding boxes
Save annotation data
This HOW-TO focuses on software installation and operation only.
Detailed recommendations and best practices for creating high-quality annotations are described in a separate annotation guideline HOW-TO.
The LumiScan Annotation Framework is used to create annotation data for training and retraining neural network models used in applications such as:
Object detection
AI Object Matching
Quality inspection
Prerequisites
Used Hardware
Windows PC
Mouse and keyboard
Optional:
LumiScan Key license device
Lincences / Material Numbers
HD Vision Systems - LumiScan Key
R911427110
XACC-0-USBVIS*ctrlX IPC License - HD Vision Systems - LumiScan Annotation (1 Year)
R911423890
SWL-W-PC*-ANNOTATE***HDVS-Y1NNctrlX IPC License - HD Vision Systems - LumiScan Annotation Framework
R911423889
SWL-W-PC*-ANNOTATE*F*HDVS-NNNN
Used Software
LumiScan Annotation Framework installer
CodeMeter Runtime Environment
Operating System Requirements
Windows 10 or higher
System Overview
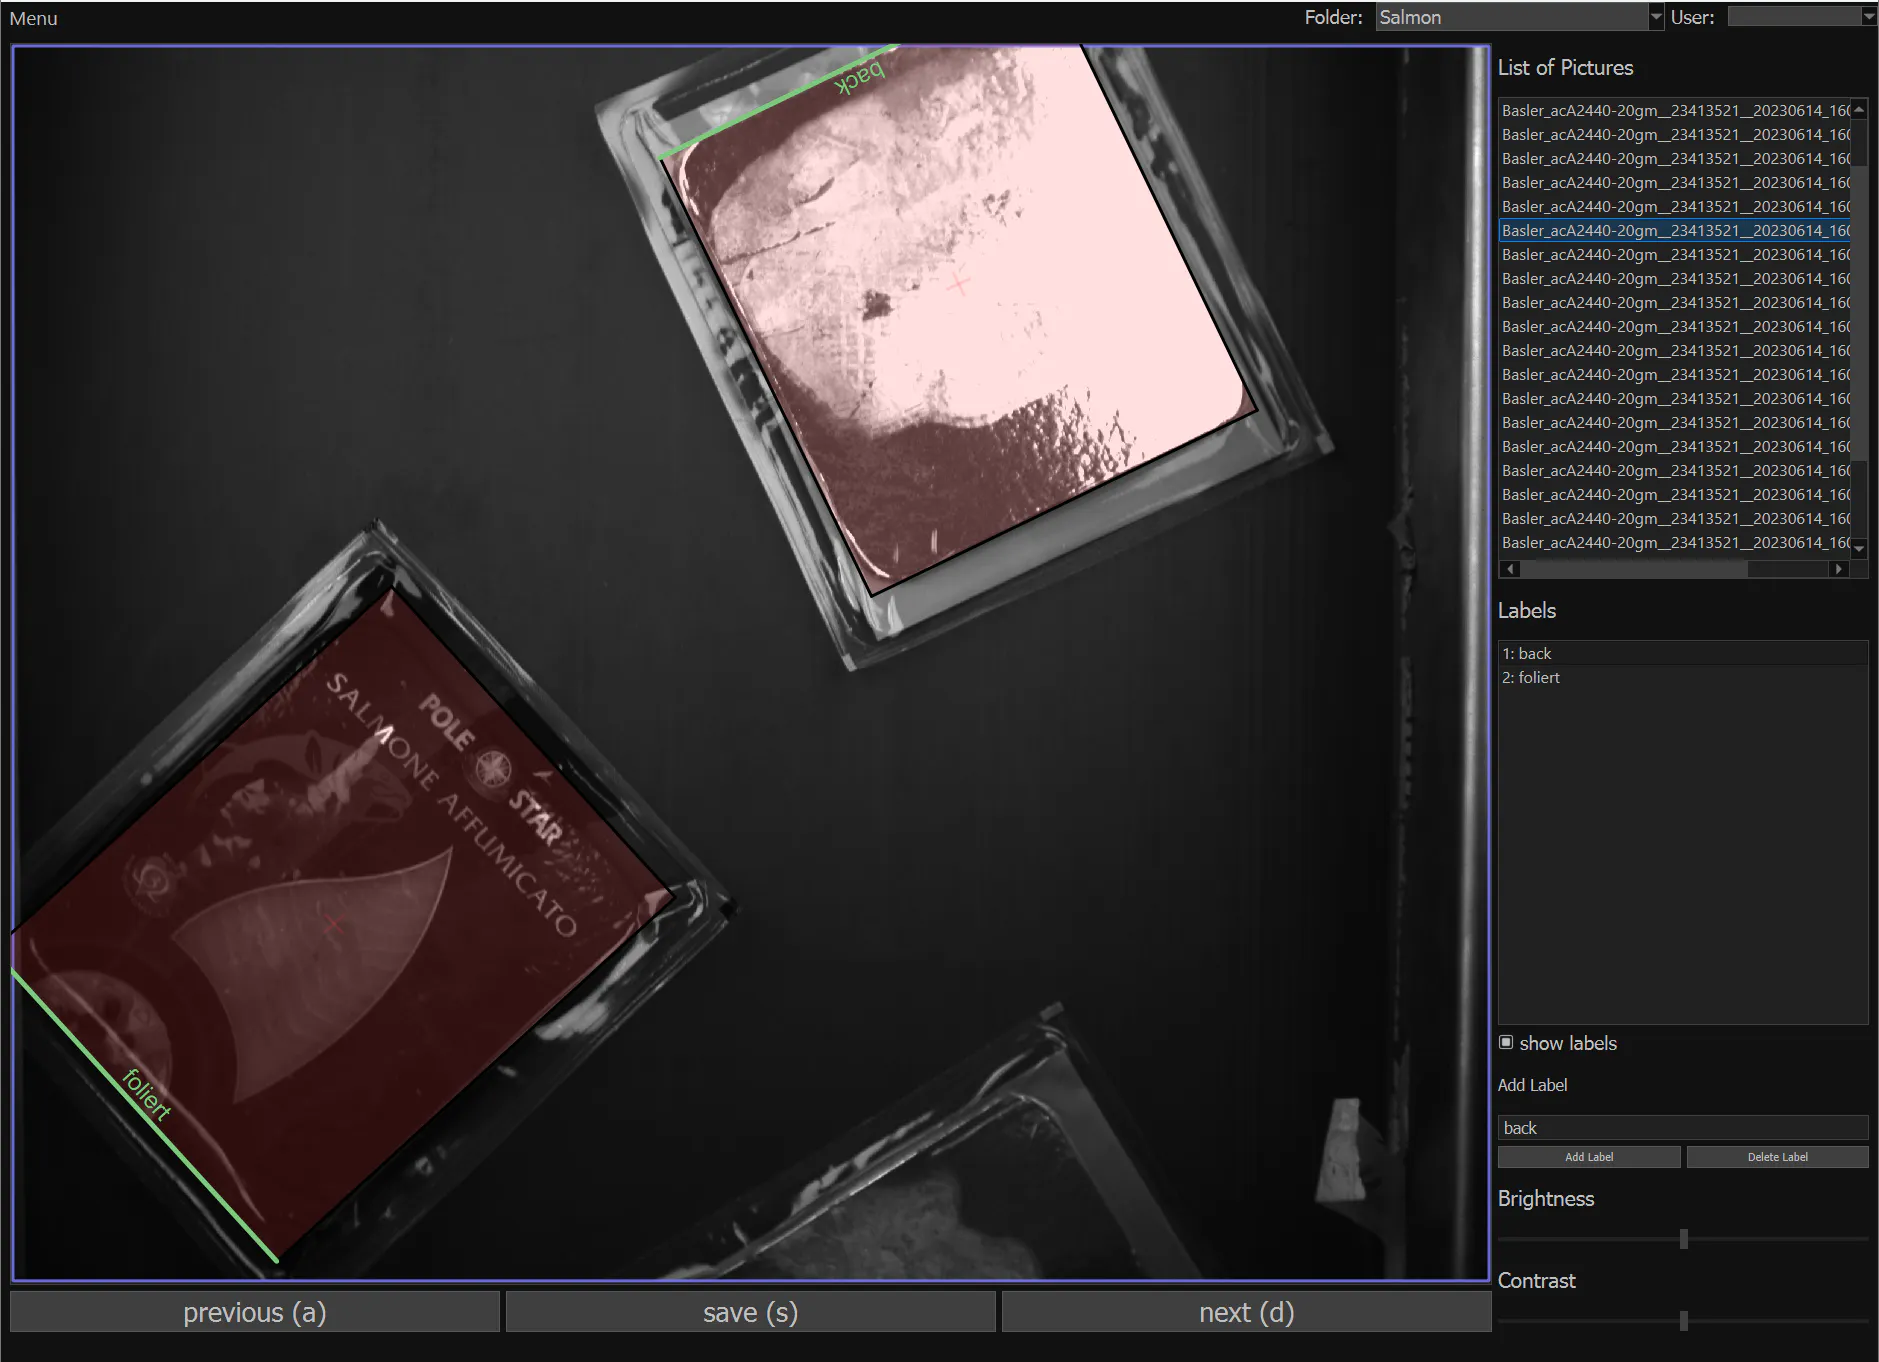
The LumiScan Annotation Framework allows manual annotation of images using oriented bounding boxes.
The software supports:
Multiple users
Multiple image folders
Unlimited annotations
Rotated bounding boxes
Annotation data is automatically stored together with the images.
Step-by-Step Guide
1. Verify CodeMeter Installation
The LumiScan Annotation Framework requires the CodeMeter Runtime Environment for licensing.
Before installing the application:
Verify whether CodeMeter Runtime is already installed.
If CodeMeter is not installed:
Download the installer from:
https://www.wibu.com/de/support/anwendersoftware/anwendersoftware.html
Install CodeMeter Runtime version
7.60cor higher.Connect the LumiScan Key license device to a free USB port if required.
2. Install LumiScan Annotation Framework
Close all running applications.
Navigate to the LumiScan Annotation Framework installer location.
Start the installer:
Installer_LumiScan_Annotation_va_b_c_d.exe
Accept the license agreement.
Select the installation directory if required.
Continue the installation process.
Click:
Install
Finish
After installation, the application can be started via the Windows Start Menu or desktop shortcut.
3. Prepare the Dataset Structure
To annotate images, the dataset must contain PNG images.
For a single dataset:
Place all
.pngfiles inside one folder
For multiple datasets, the following structure is recommended:
<Dataset Root>
|-----<Folder A>
|     |---- image_001.png
|     |---- image_002.png
|
|-----<Folder B>
      |---- image_003.png
      |---- image_004.png
The folder selection inside the application can then be used to switch between datasets.
4. Start the Application
Start LumiScan Annotation Framework.
When started for the first time, an empty application window appears.
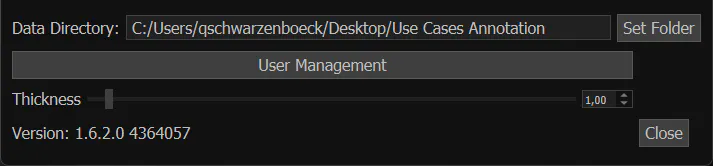
Open:
Menu → SettingsConfigure the data directory.
Click:
Set Folder
Select the dataset directory containing the images.
After selecting the dataset:
The images appear in the image list
The folders become selectable via the folder selection field
5. Review the User Interface
The main user interface contains:
Menu access
Folder selection
Image list
Label list
Central image view
Navigation buttons
The central image view displays:
The currently selected image
Existing annotations
ROI borders
Brightness and contrast can be adjusted using the sliders on the right side.
6. Create Labels
Labels define the object classes used during annotation.
To create a new label:
Enter the label name in:
Add Label
Click:
Add Label
The label then appears in the label list and can be assigned to bounding boxes.
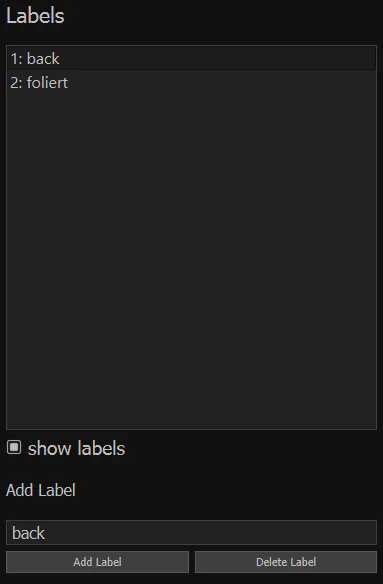
Fig. 3: Label creation The screenshot should show the label list and the Add Label input field.
7. Create Oriented Bounding Boxes
The LumiScan Annotation Framework uses oriented bounding boxes for annotation.
To create a new bounding box:
Double-click with the left mouse button at the desired bottom edge position.
Click the upper edge of the object to define the height.
Click a side point of the object to define the width.
The annotation is automatically assigned to the currently selected label.

8. Modify Existing Bounding Boxes
Existing bounding boxes can be adjusted after creation.
To select a bounding box:
Left-click the bounding box
Selected boxes are highlighted and display corner handles.
The selected box can then be:
Moved
Resized
Rotated
Relabeled
To delete a bounding box:
Right-click the selected box
9. Save Annotations
To save annotations:
Click:
Save
or: 2. Press:
s
The application stores:
Annotation CSV files
Metadata JSON files
The generated JSON metadata includes:
User name
Save timestamp
Image reference
Save file name
10. Navigate Through Images
To switch between images:
Click:
Previous
Next
The navigation buttons are located at the bottom of the application window.
The application also supports copying annotations to the next image using:
Save & Copy
This is useful when image content changes only slightly between consecutive images.

Result
After completing the steps described in this guide:
LumiScan Annotation Framework is installed successfully
Image datasets can be loaded
Labels can be created
Oriented bounding boxes can be added and modified
Annotation data is stored correctly for neural network training
For annotation recommendations and labeling quality guidelines, refer to the dedicated annotation guideline HOW-TO.
The Company
HD Vision Systems is a leading provider of industrial image processing and AI-based automation solutions. Our hardware-agnostic platform enables seamless integration across a wide range of cameras, sensors, robots, and industrial systems, giving customers maximum flexibility and future-proof scalability. By combining advanced machine vision software with strong partnerships across the automation ecosystem, we deliver tailored, high-performance solutions for quality inspection, process optimization, and intelligent manufacturing. Together with our technology partners, we help companies accelerate digital transformation and unlock the full potential of Industry 4.0.